Showcase of the Avian Berserkers' full pipeline in UE5
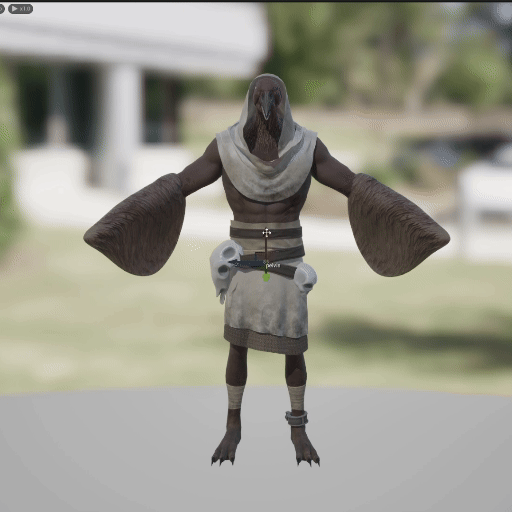
Rig, animation cycles, retargeting results, and in-game integration
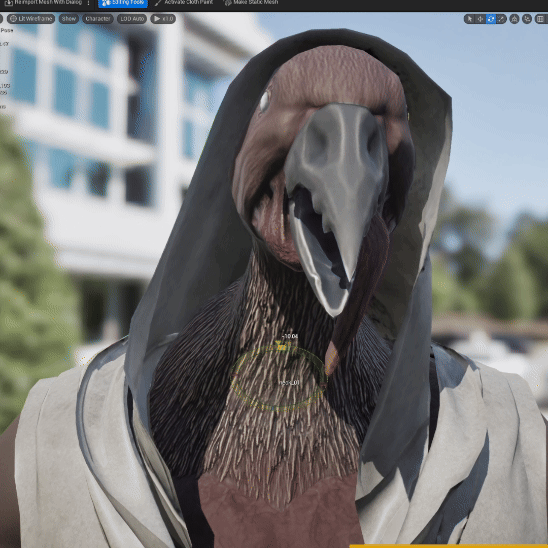
I built a fully bespoke UE5 Control Rig tailored to the Avian Berserker’s shape and proportions. After rigging the skeleton I set up spring-bone nodes along the spine so it jiggles with convincing weight, added an extra “bicep_contract” bone on each arm driven by forearm rotation to create realistic muscle bulge, and placed physics bodies and constraints along the tongue so it flops and sags naturally. 
My custom retargeting pipeline starts by mapping any base human animation through a very heavily modified retarget asset and exporting it as an Anim Sequence. I then bake in the spine spring bones, bicep contractions, and tongue simulation, clean up the curves for seamless looping, and integrate the final clip into the game. This process lets me take a simple human animation and instantly turn it into a weighty, dynamic Avian Berserker without manual tweaking.

Character Demo Reel

Custom Retargeting Pipeline

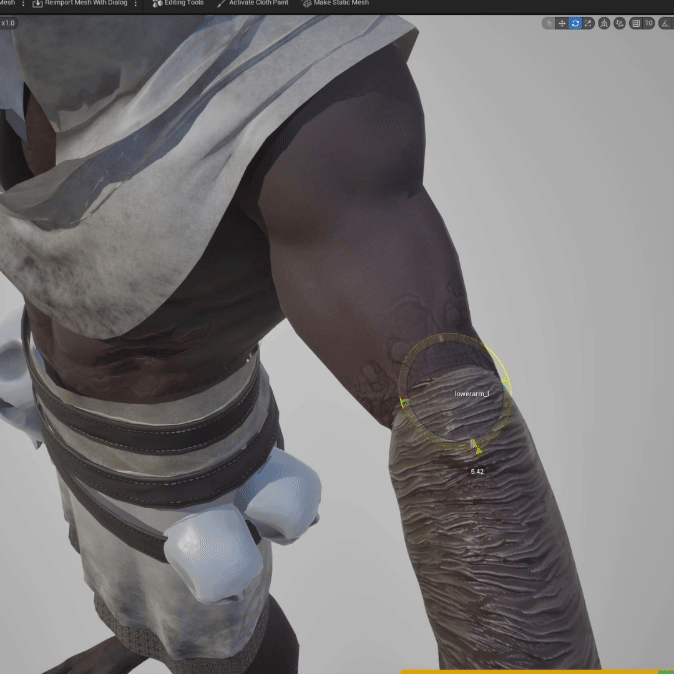
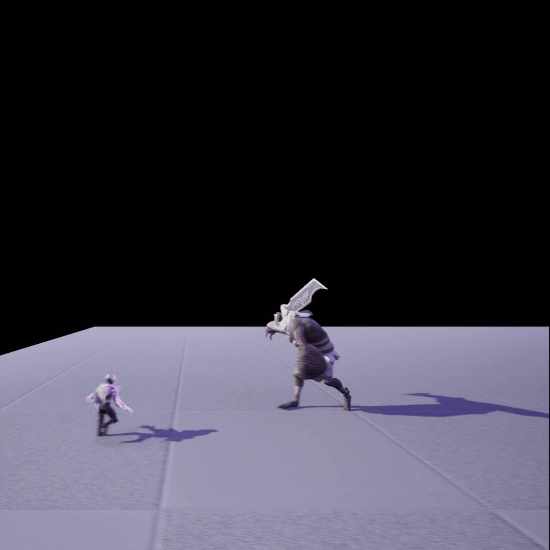
"Jiggle Setup" for adding additional weight to animations

Heavily Modified Retarget Asset

I built a pipeline that transforms any base human animation into the Avian Berserker’s weighty motion in order to maintain the characters barbaric personality. I begin by mapping the animation through a heavily modified retarget asset and exporting it as an Anim Sequence.

Next I apply a spring-bone setup on the spine to introduce natural jiggle and a sense of weight, then re-export the sequence so the secondary motion is baked in.

Lastly I clean up the animation curves for seamless looping and integrate the finished clip into the game. This process lets me take standard animations and make them feel custom and dynamic with minimal manual effort.

Original Animation vs Custom Retargeting Pipeline

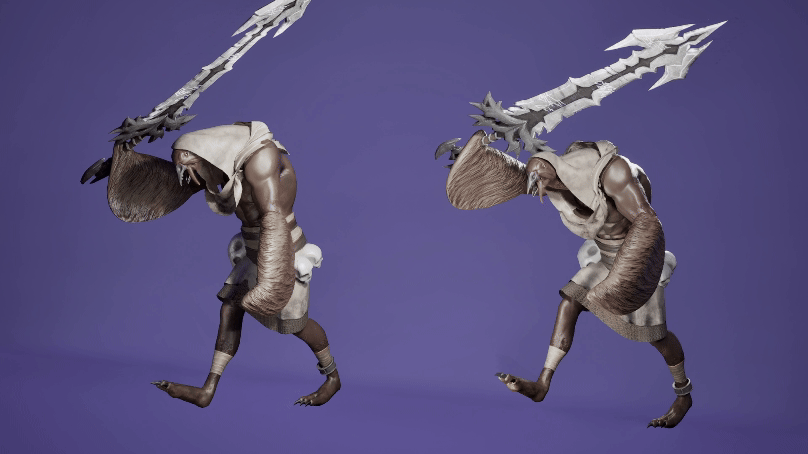
Auto Retargeted Animation vs Custom Retargeting Pipeline

Bicep Curl | Control Rig
I implemented a bicep contraction setup entirely in UE5 Control Rig. I added an extra bone called “bicep_contract” on each arm and drive its scale in real time by measuring how far the lower-arm bone has rotated from its bind pose.

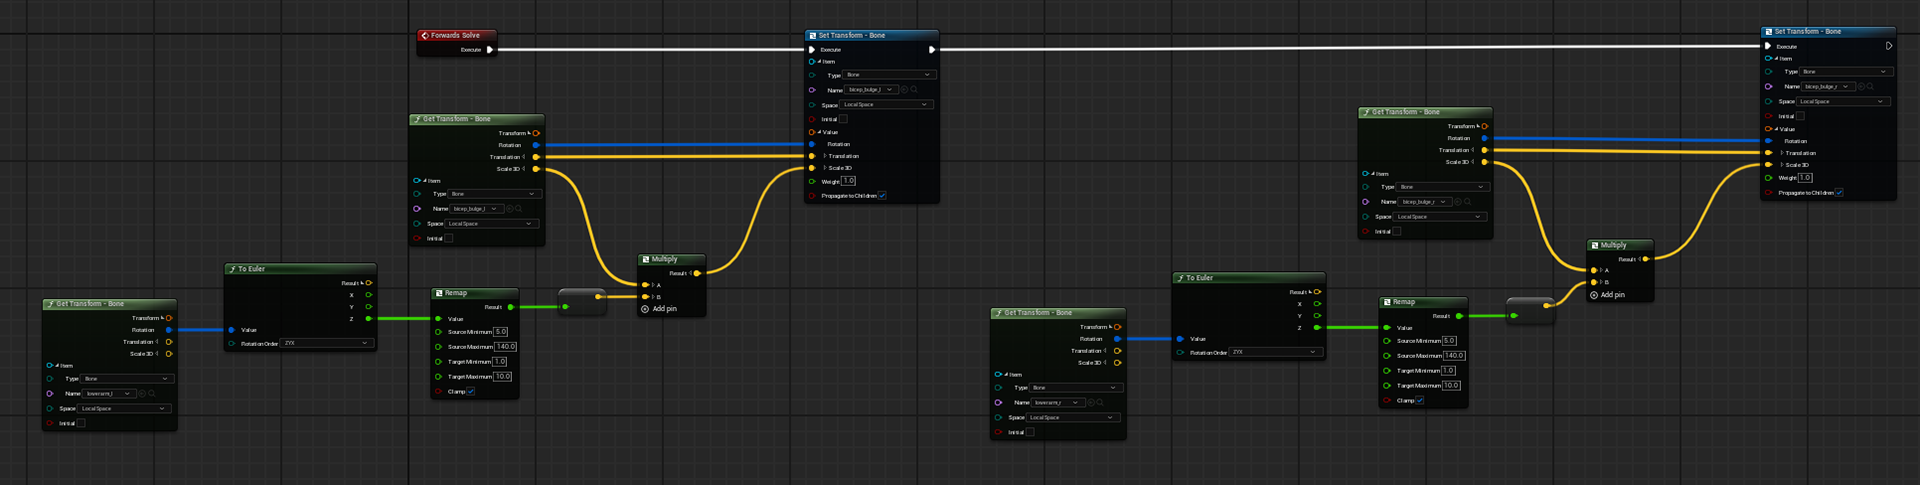
A few nodes to compute the scale factor and careful weight painting blends the deformation into the mesh. The result is an automatic, realistic muscle bulge on every bend, adding subtle polish without any manual keyframing.
Tongue Physics Setup
I created a chain of physics bodies along the tongue and connected them with angular and distance constraints to simulate realistic bending and sagging. 

I tuned each body’s mass, stiffness and damping so the tongue moves fluidly but still feels heavy. The simulation runs in real time and reacts naturally to the Berserker’s motion and gravity
Animation Blueprint

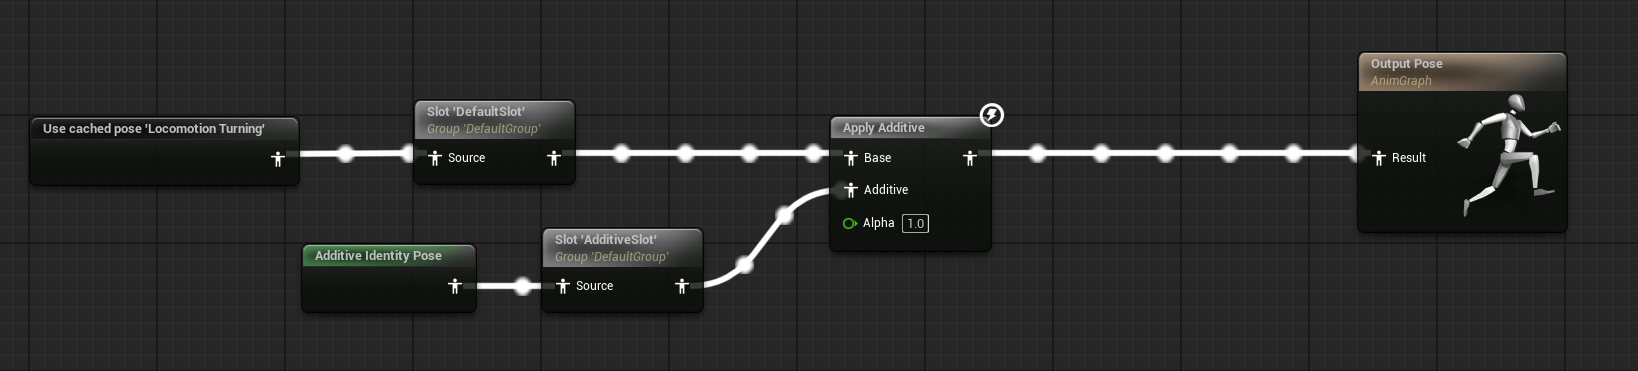
Default and Additive slots leading into my output pose.

These are all applied to my cached Locomotion output.

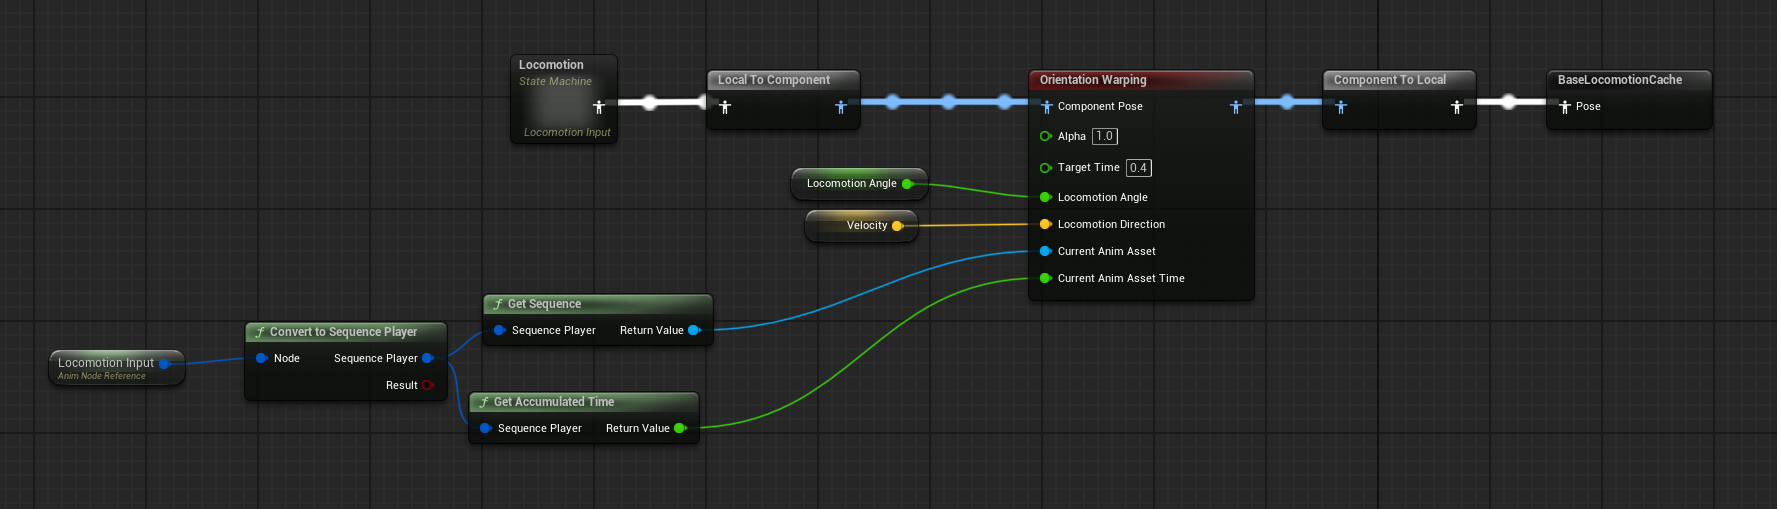
State Machine and Orientation Warping setup for proper turning.  

Orientation Warping allows me to use only 4 directions of animation, and orient the pelvis to turn it into full 360 degrees.

All variables are retrieved through the "Blueprint Thread Safe Update Animation" function for optimal performance.

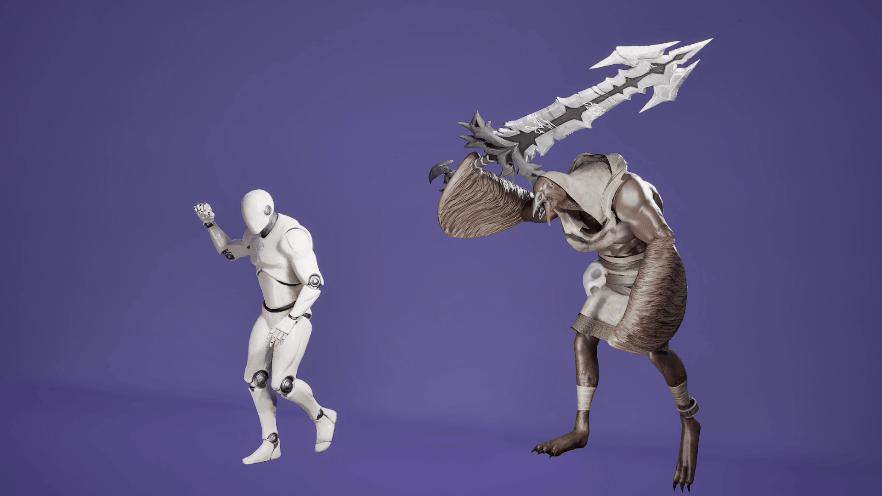
When the character gets bashed by Juvenate, I wanted them to get knocked down to the ground.

This is all handled through the state machine seen on the left

Back to Top